Last weekend I was asked what I do to get the clarity in my beers. It made me happy for that to be noticed because I’ve taken a lot of steps to improve clarity (and foam, another topic) over the years. Clarity hasn’t always been very important to me, but I’ve come to believe a beer’s appearance is a big part of the overall sensory experience. Also, in competition, appearance undoubtedly affects most judges’ perceptions beyond the three points on the scoresheet.
I try to get clear wort out of the mash tun into the boil kettle, and clear wort out of the kettle into the fermentor. Some homebrew lore says not to worry about cloudy wort and even that cloudy wort contributes to clear beer later, but I haven’t found that to be the case on my system. There is one clear benefit to cloudy wort, however—the lipids in the hot break whose staling potential is so high also happen to be beneficial to yeast health. That means when you take the path of wort clarity, your fermentation game has to be that much better: pitch a large number of healthy, vital yeast cells; oxygenate the wort beyond the typical homebrew levels; and ensure a disciplined approach to temperature control.
That being said, a lot of my process is aimed at clarifying the wort. Hopefully the list below isn’t overwhelming; just note you don’t have to do all of these—any one of them will marginally improve clarity.
- Use high-quality grains from well established maltsters. Poor malt quality can mean high protein and/or β-glucan levels, which can lead to haze and other issues.1

Weyerman Spezialmalze in Bamburg, Germany - Recirculate the mash for its entire duration2 or at least vorlauf during lautering.3 The first few times you try pumping the mash around, it might be challenging to get right. There may be leaks. You want your pump, hoses, and fittings to be air-tight so you’re not just oxidizing your wort while you’re trying to clarify it.
- Make sure there’s plenty of calcium (70-100 ppm) in the mash4, and the mash pH (not the strike water pH) is 5.4-5.6 when measured at room temperature. The optimal pH depends on your system; you have to find it through trial and error.
- Do a step mash. This ensures every last bit of starch is converted to sugar and helps achieve high attenuation.5
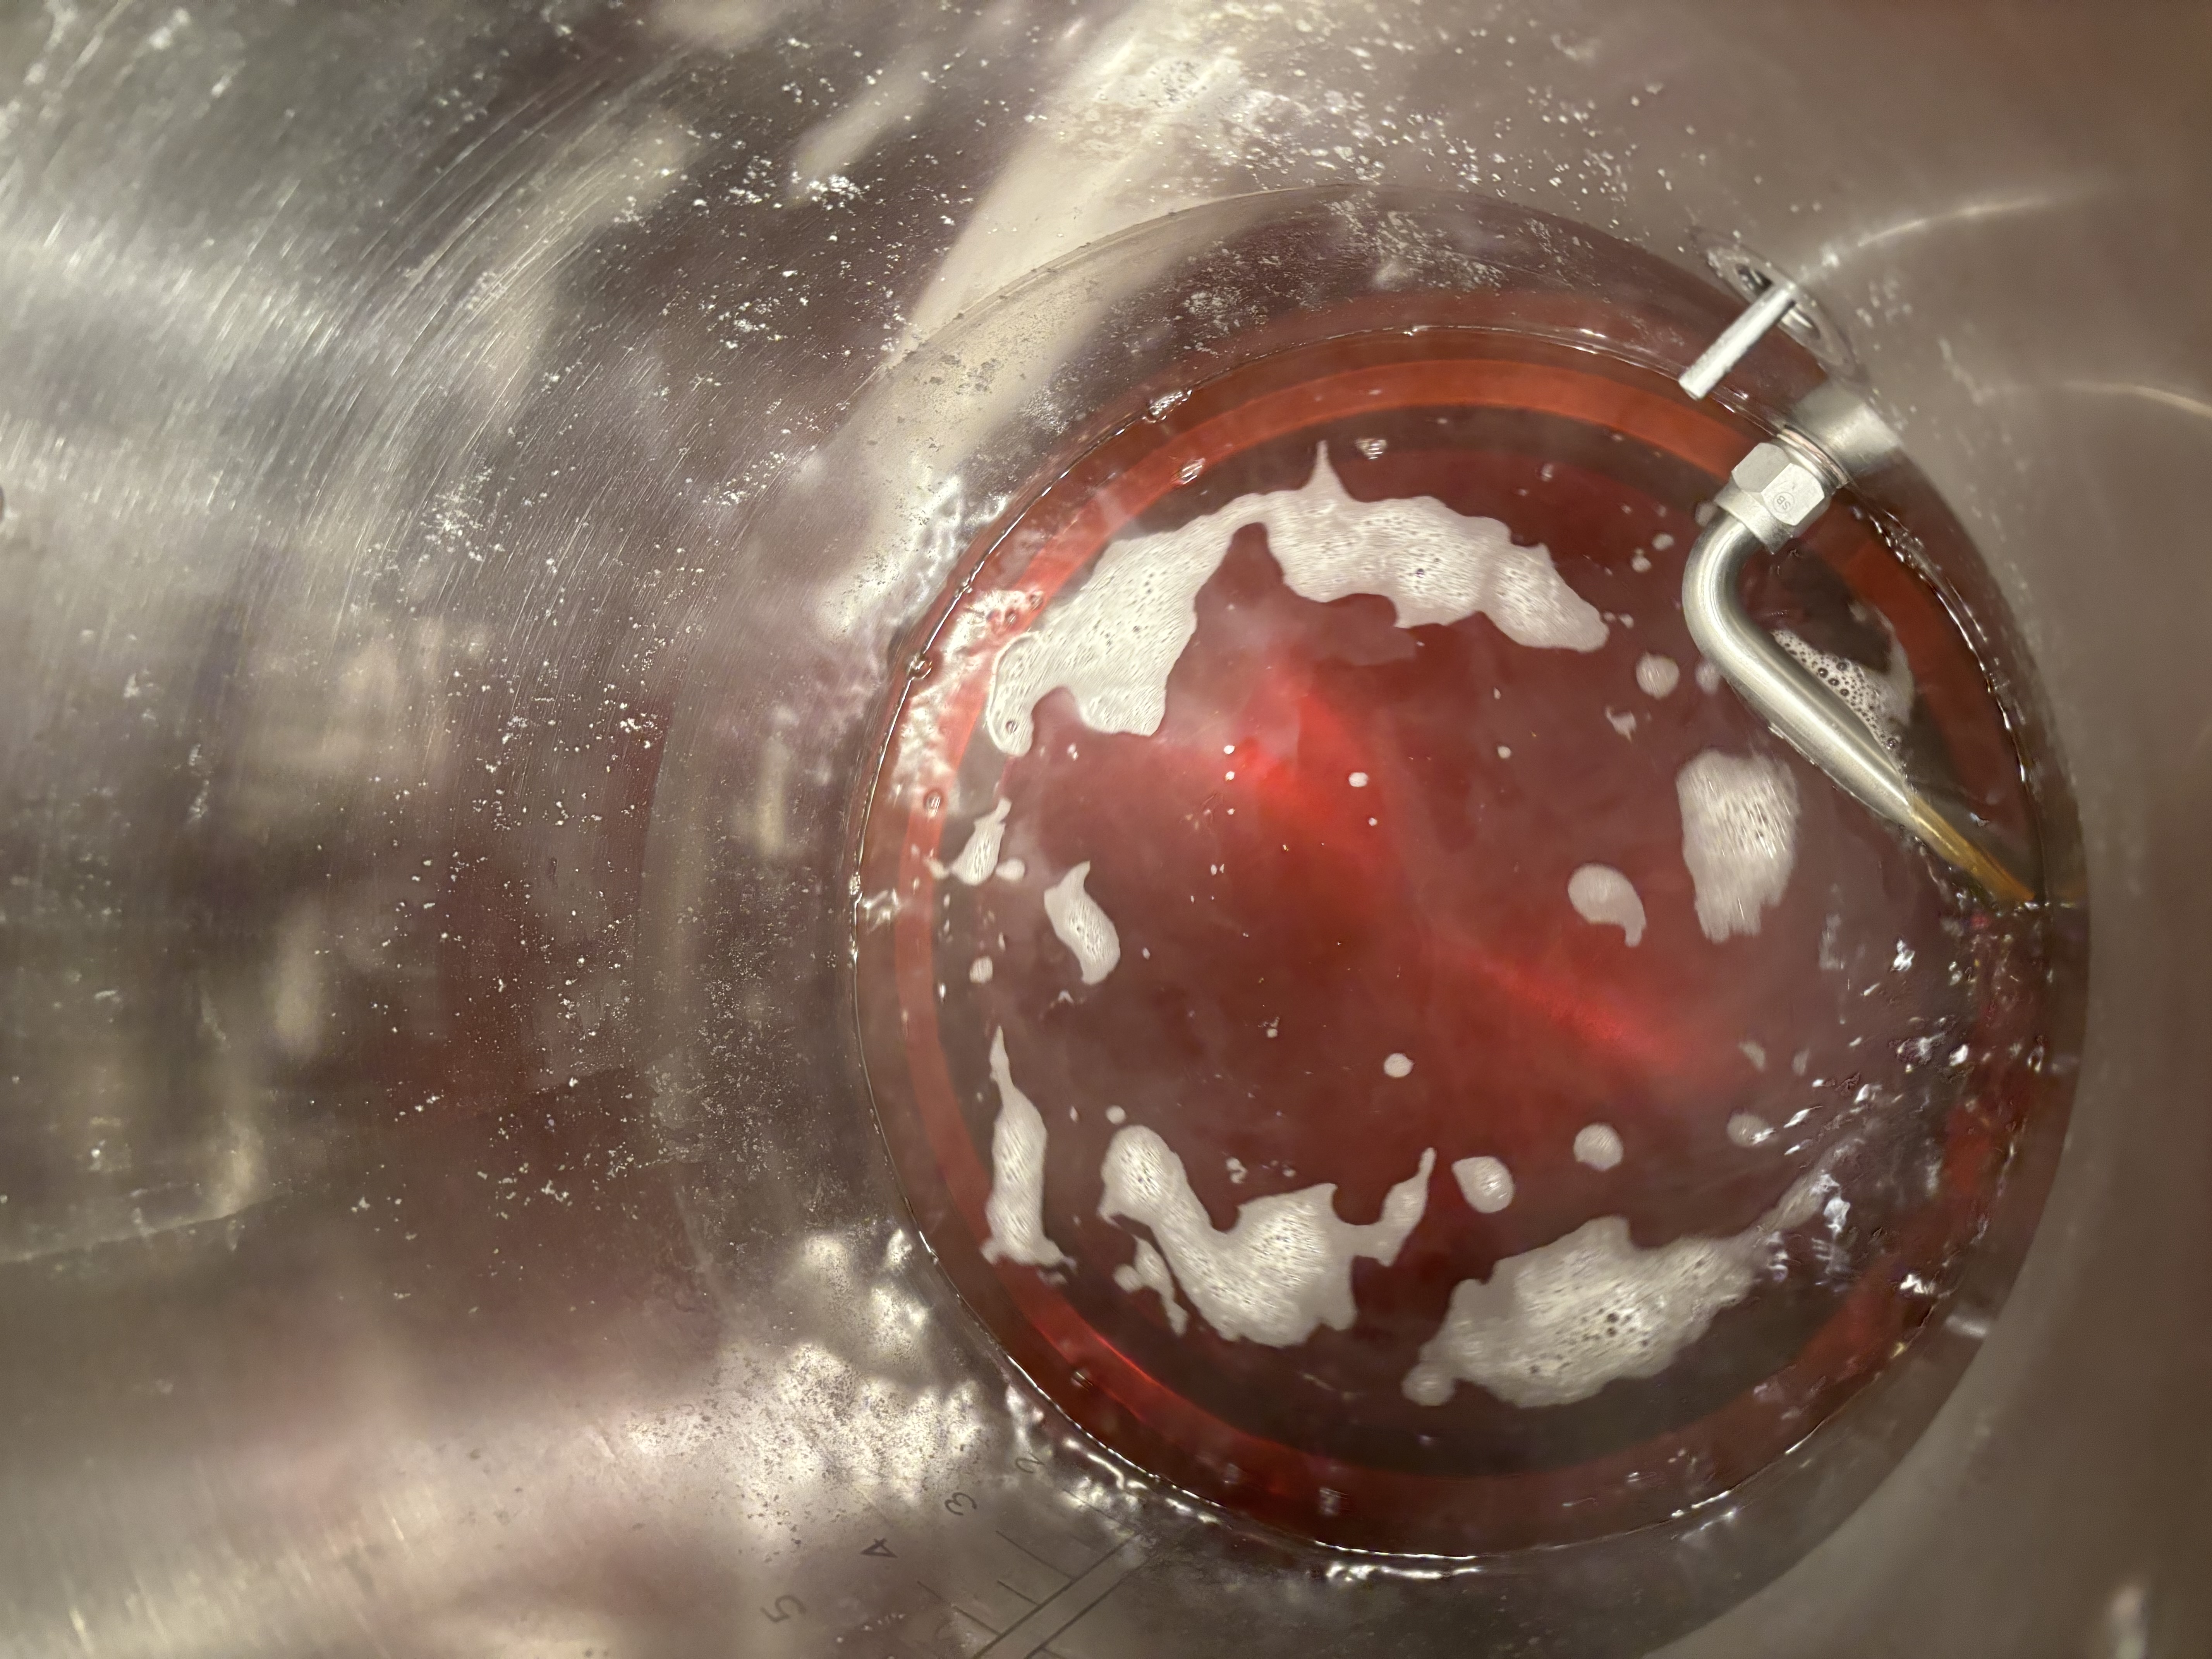
- Devise a way to run wort from the mash to the kettle without letting through a bunch of husk material.6 On my system, I use a three-way valve, and when I’m ready to transfer, I stop the mash recirculation briefly, start it again, and then switch over to the kettle. Again, trial and error. You should have clear wort running into the kettle at this point.

Clear wort going into kettle - If you didn’t recirculate the mash and do a step mash, skim off any scum that appears on the surface of the boil. White foam is fine, but you don’t want the gelatinous purplish-gray film. One of the reasons I like step-mashing and recirculating is this scum stays behind in the mash tun as a layer of gunk on top of the spent grain.
- Make sure your boil is vigorous7 enough to get a good hot break. It should be more than a simmer and less than a maelstrom. The wort should look like gently churning egg-drop soup within the first 15 minutes or so of your boil.
- Drop the boil pH within the last 15 minutes to 5.0-5.1,8 as measured at room temperature. The kettle finings you’re about to add work best at this pH, and the yeast will also thank you for it later.
- Use kettle finings.9 I use Whirlfloc at 5 minutes and PVPP at 3 minutes. Ideally, rehydrate the PVPP in water for 12 hours beforehand. I start it the night before, except when I forget, in which case it gets rehydrated for maybe 15 minutes. 😄
- Chill fast. I use an immersion chiller and a pump to recirculate the wort through a whirlpool return arm. Some people believe the pump chops up the break material and makes it harder to form into a compact cone during whirlpool, so they just stir the wort by moving the immersion chiller in a circle. I find that to be more trouble than it’s worth, so I recirculate and just live with the potential chopping of trub.
- Whirlpool. Once the wort is chilled to pitching temperature, stop pumping or stirring, and let it sit for 20-30 minutes and continue to spin gently. The whirlpool should cause a cone of trub to form in the middle of the bottom of the kettle.
- Use a strategically placed pickup tube. My (Spike) kettle has a stepped bottom, and the pickup tube bends around to the side of the kettle and sits on the step. So during knockout, a lot of the trub remains under this step. Yes, that wort never makes it into the fermentor. But it’s not a waste if it promotes clarity.

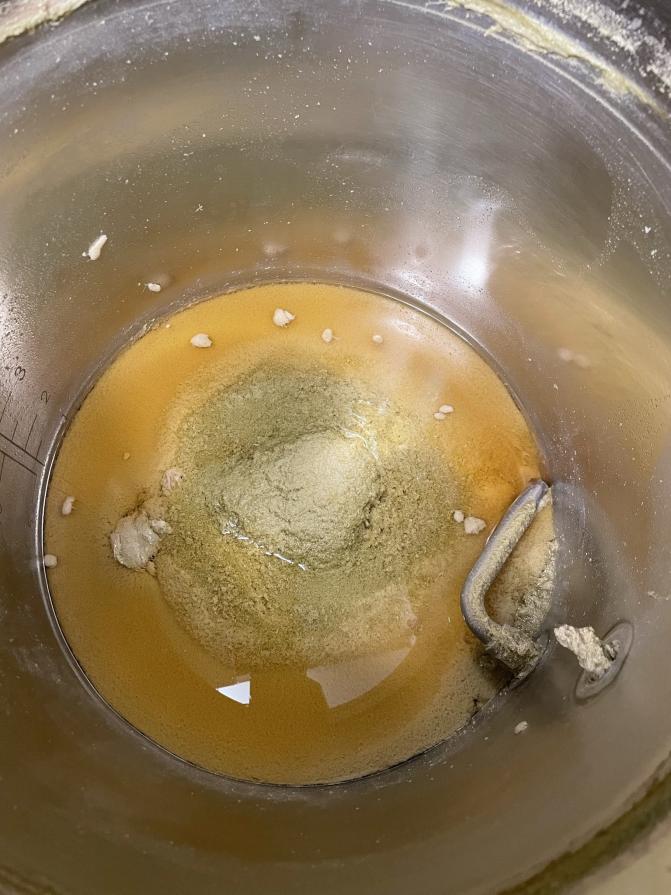
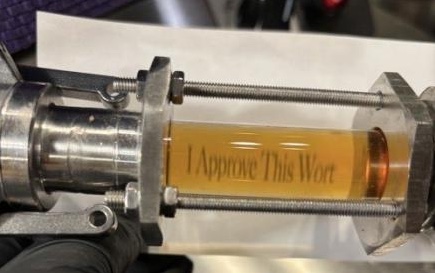
Big hop/trub cone after whirlpool & knockout with pickup tube pulling clear wort from side - Discard the heads and tails. Before connecting the kettle outlet to the fermentor, I let it run into a bucket for a second. Then I connect to the fermentor, transfer until the wort runs cloudy, then disconnect and discard the rest of the wort. Again, it’s not a waste if it promotes clarity. You should have clear wort running into the fermentor at this point.10
- Use a well-flocculating yeast. This is of course secondary to some other considerations like flavor, attenuation, etc. But if clarity is important, choose a yeast like the Ayinger strain for German lagers or the Fuller’s strain for English beers.
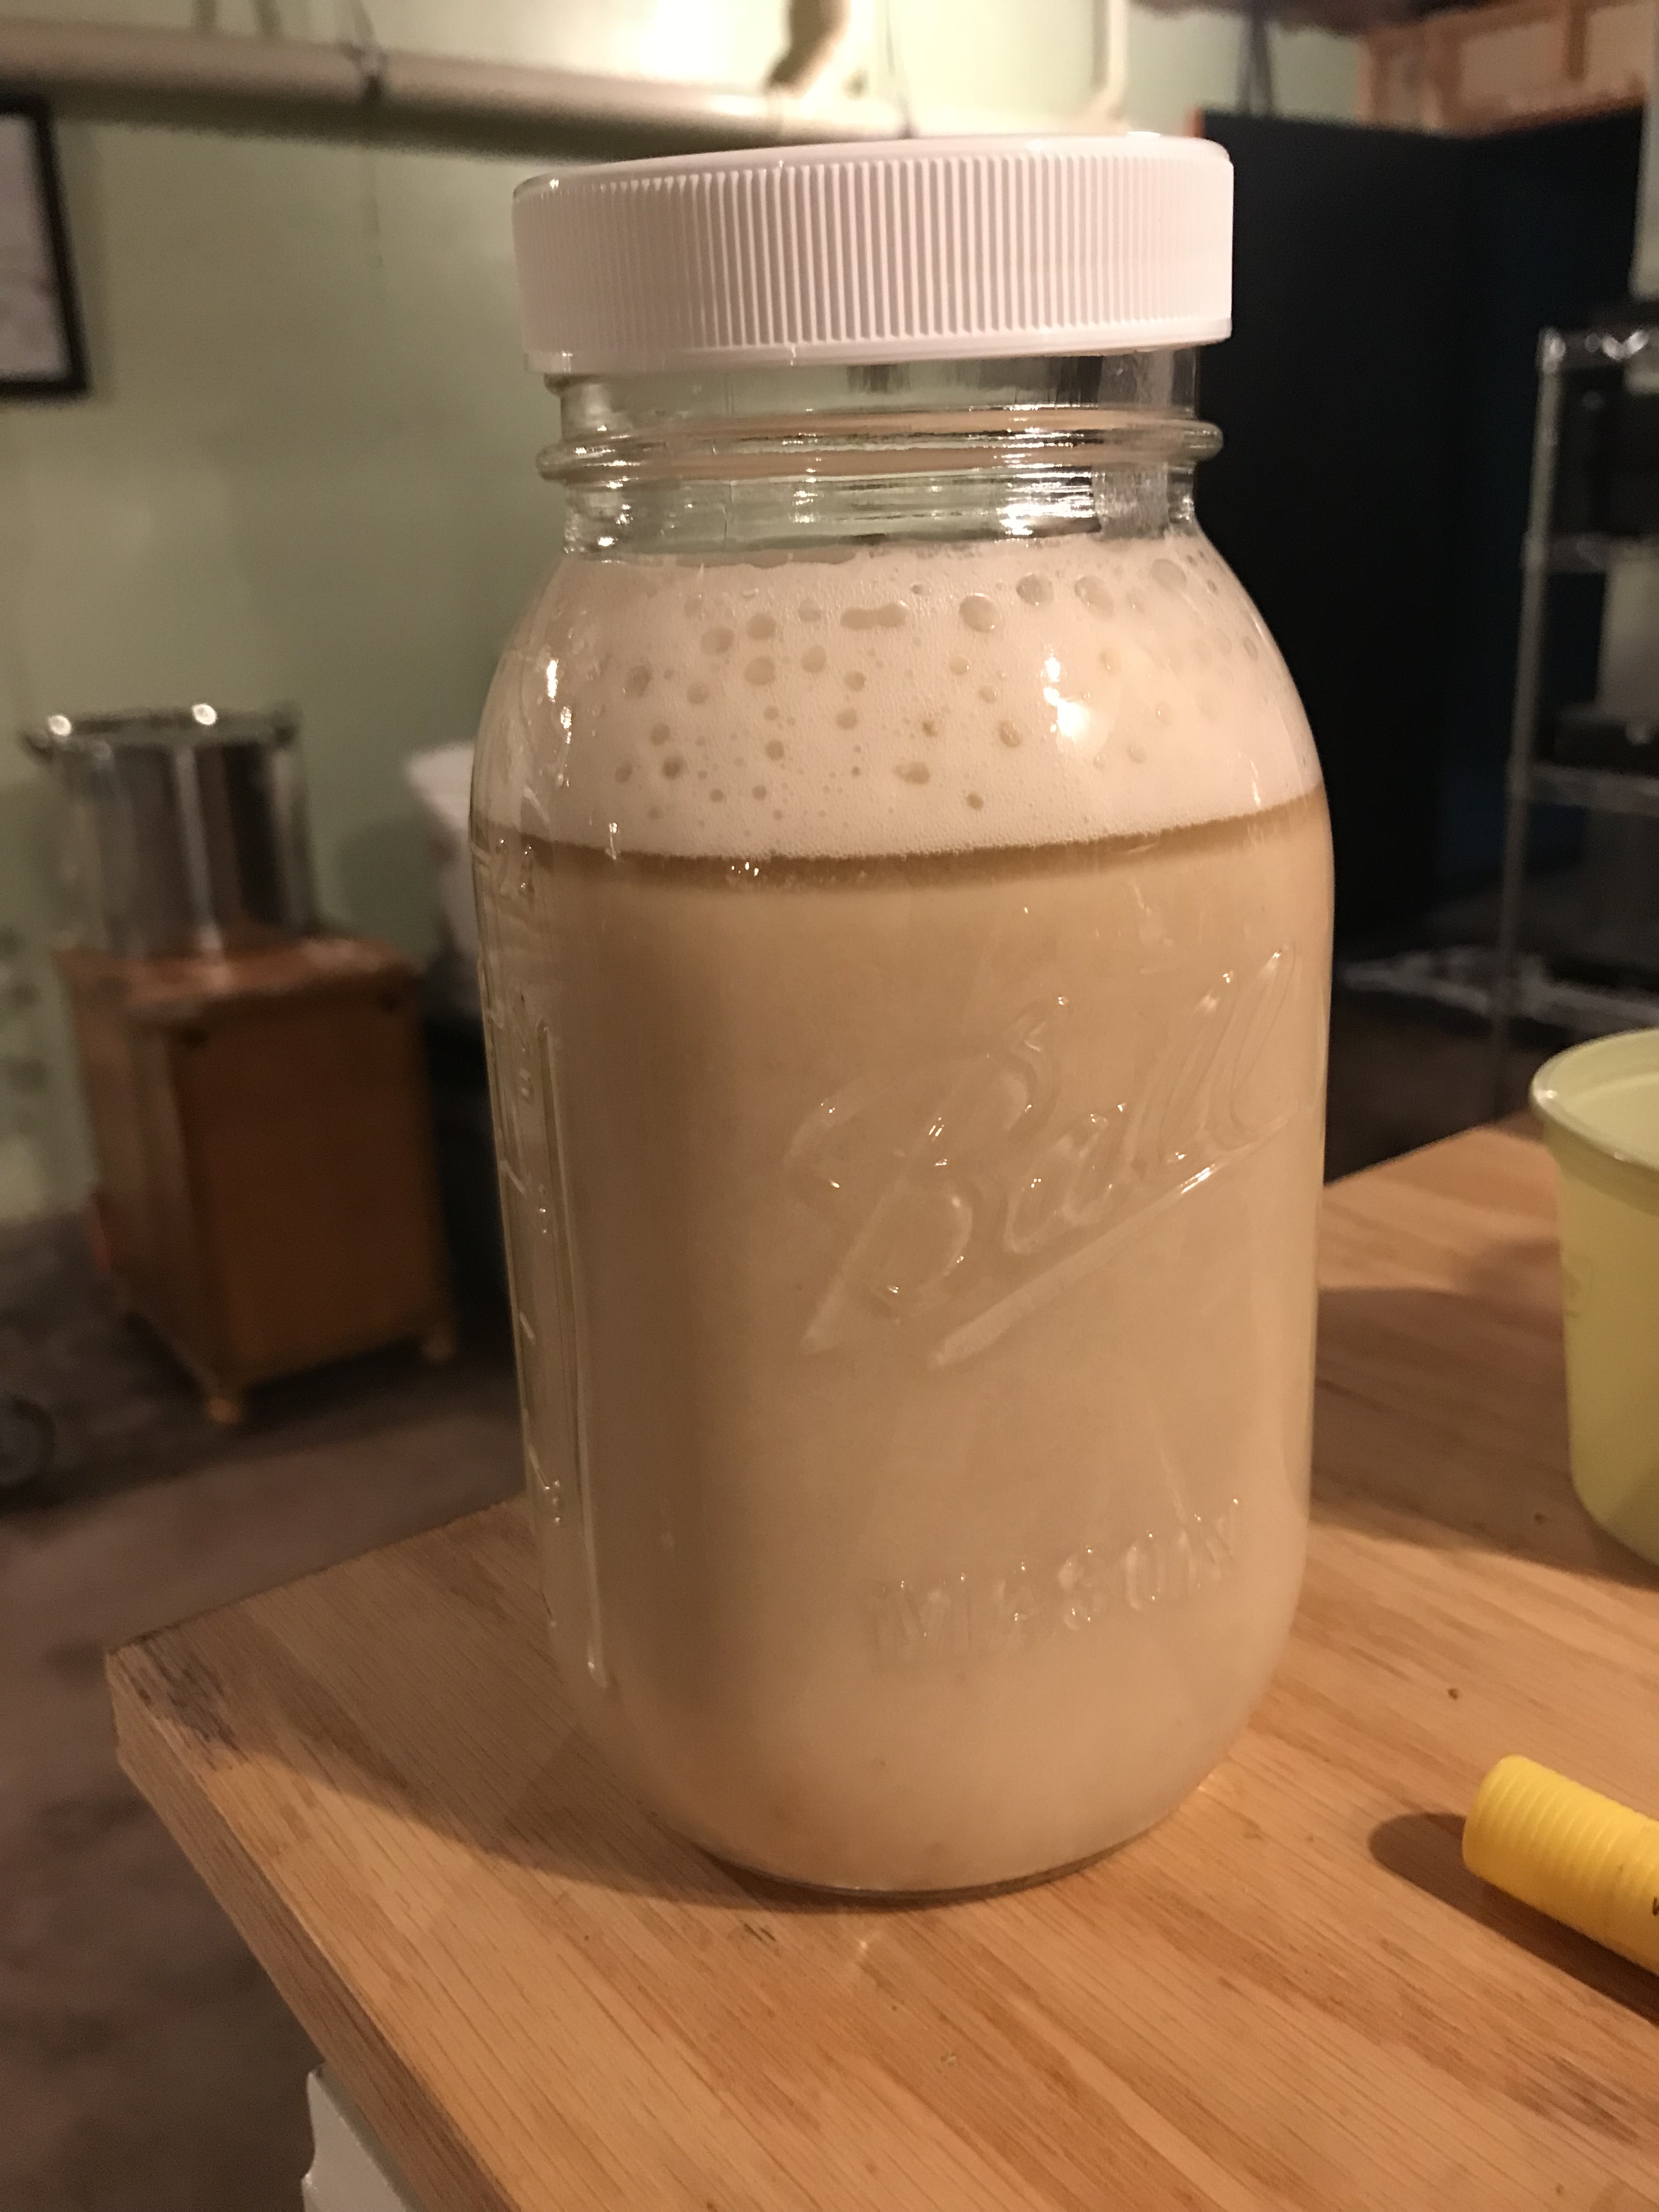
- Pitch a large quantity of healthy, preferably active yeast. Healthy yeast will produce a vigorous fermentation quickly and drop out.11

- Once the beer is done fermenting (and I mean really done), cold crash it down to 38-40ºF. Then keep it there as long as you can, maybe indefinitely. Depending on the yeast and how well you’ve followed the above steps, you’ll have clear beer in 1-6 weeks.
- If you serve out of kegs, bend the beverage dip tube so it leaves half a liter of beer in the bottom, or use a floating dip tube so beer is always dispensed from the top.
- If you’re taking your beer somewhere, like to a party, transfer it to a new keg. This transfer will oxidize the beer somewhat, so only do it if you intend to drink it all. Bottle your competition beers from the original keg first!
In an emergency (e.g., you have a cloudy beer you want to “fix”), use gelatin. There’s a very specific procedure I can share by request. It’s not for normal use, though — only if all else has failed!
Good luck with these, and let me know if you have questions. I’d also be delighted to hear differing or additional techniques for achieving clarity. Cheers!

References
-
Wolfgang Kunze, Technology Brewing and Malting, (Berlin: VLB, 2019), 503. ↩︎
-
Chris Boulton and David Quain, Brewing Yeast and Fermentation, (Oxford: Blackwell Science, 2001), 40. ↩︎
-
Kunze, 274. ↩︎
-
Boulton & Quain, 35. ↩︎
-
Kunze, 274. ↩︎
-
Kunze, 274. ↩︎
-
Kunze, 274. ↩︎
-
Kunze, 274. ↩︎
-
Kunze, 274. ↩︎
-
Kunze, 274. ↩︎
-
Graham G. Stewart, Brewing and Distilling Yeasts, (Springer, 2018), 254. ↩︎
